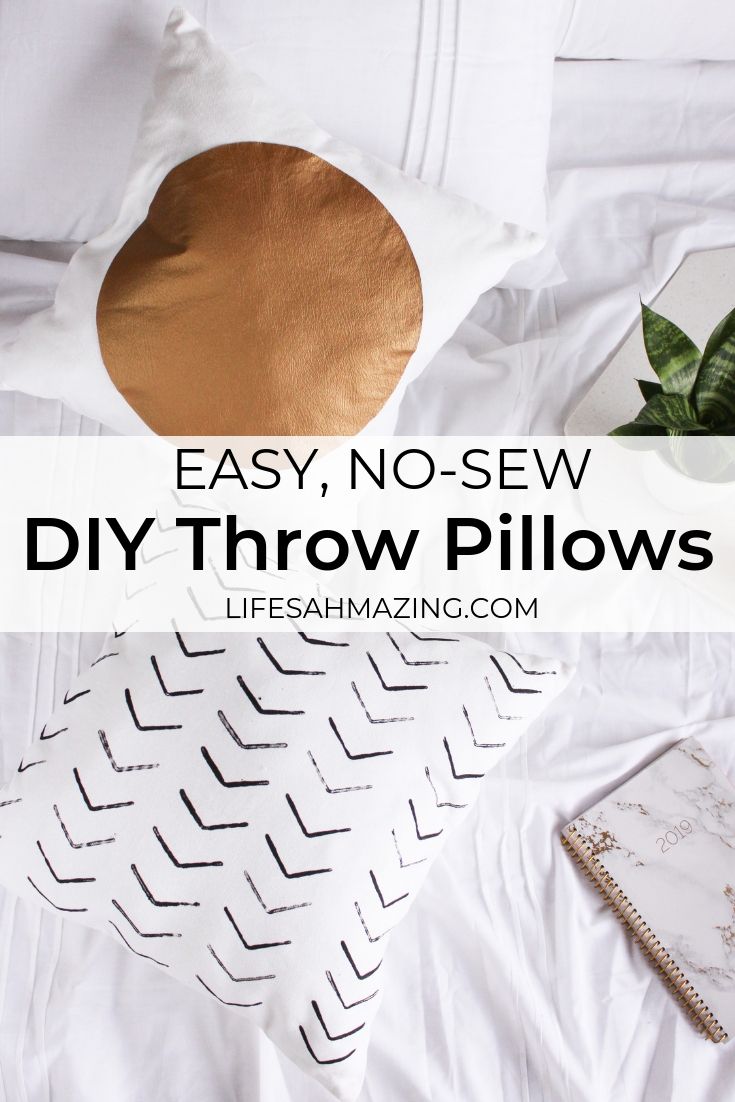
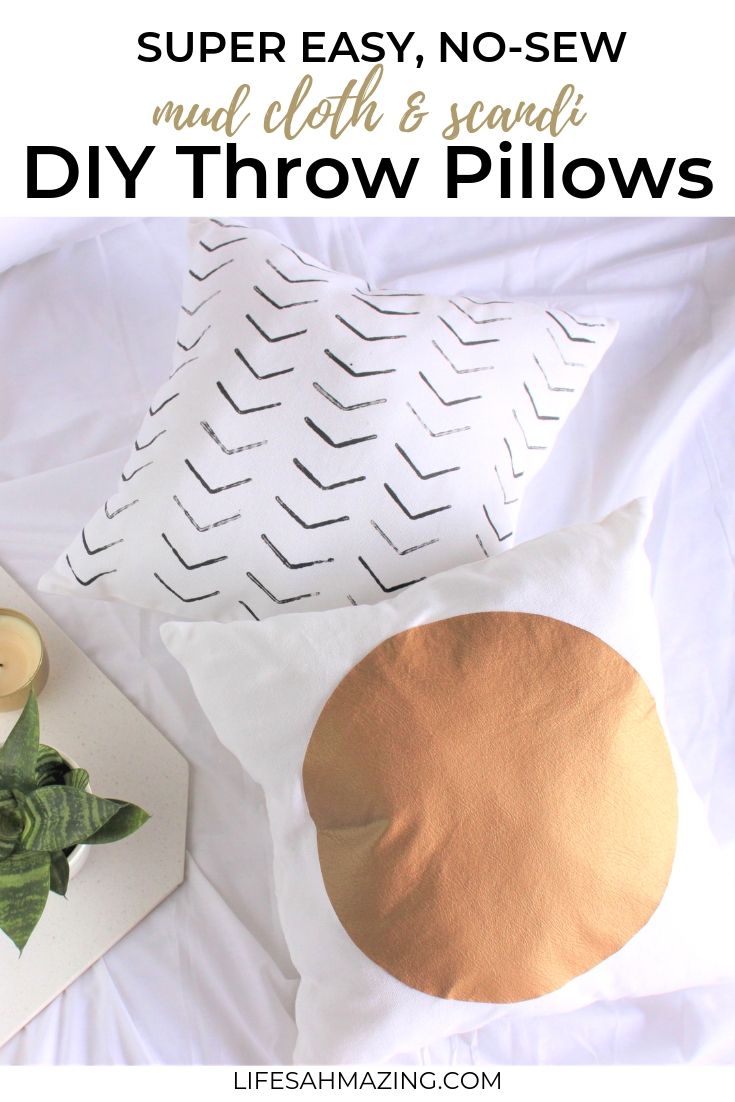
DIY Throw Pillows
Are you bored with your bed or sofa? Well, throw pillows are a super easy way to add some umph to a space buuuuuut they can be super pricey as well.
Today, I’m showing you how you can easily DIY throw pillows that make a statement in your room.
I’ve been slowly updating my bedroom and wanted to add some throw pillows to my bed. I’ve always loved the African mud cloth look and thought this would be the perfect time to try it out.
I also recently spotted these throw pillows posted on Instagram by Sarah Dorsey and was immediately inspired to recreate a leatherette pillow and a mudcloth pillow.
For this post, I’m excited to be joining a group of other talented ladies, once again, for a monthly DIY challenge. This month’s challenge was to do a fabric-related DIY. Be sure to check out their projects at the end of this post. You can check out the last challenge here – I made a west elm inspired colour-blocked clock.
Now let’s get to these awesome DIY throw pillows… yasss!
(This post contains some affiliate links. Read full disclosure here)
DIY Throw Pillows

As with most of my DIYs, I only use a few materials, and this project was no different. I already had all the materials on hand because… ya know… #hoarder. But here’s what you’ll need…
Materials and Tools:
- A pair of plain cotton pillow covers (I used a 40 x 40 cm set I got at H&M a few years ago)
- Leatherette in colour of choice (I used a gold/bronzish finish)
- Black fabric paint
- Painter’s tape
- Fabric glue
- Scissors
- Bowl in the size of the circle you will want
- A piece of cardboard or small brush

Steps:
Wash, dry and iron the pillow covers
Place a piece of cardboard on the inside of the cushion cover to prevent leaking from the glue or paint onto the back side of the cover. Don’t forget this step!
For the leatherette throw pillow:
Measure the size of the circle you want and, using a bowl in that size, trace a circle on the back of the leatherette. I used a glass bowl from Ikea.
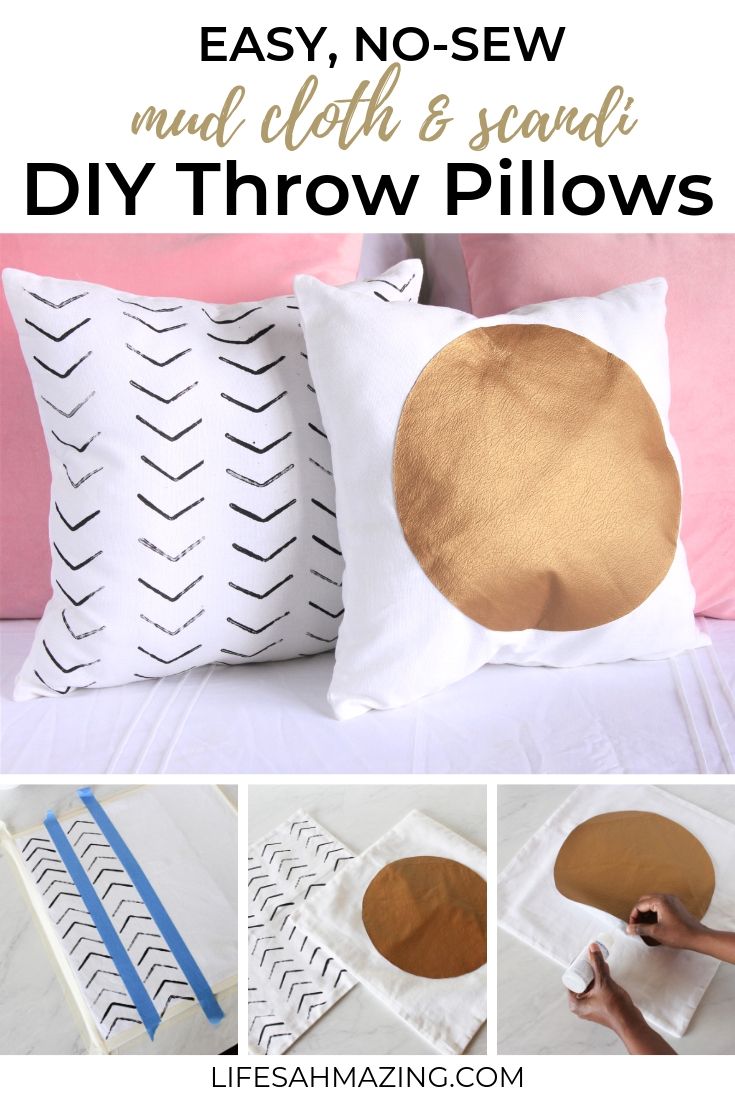
Cut out circle and place at the centre of your pillow cover. I measured the edges to make sure they were even.
In small sections, line the edge of your leatherette with the fabric glue. Add some glue to the cotton pillow as well as you’ll want the circle as secure as possible.
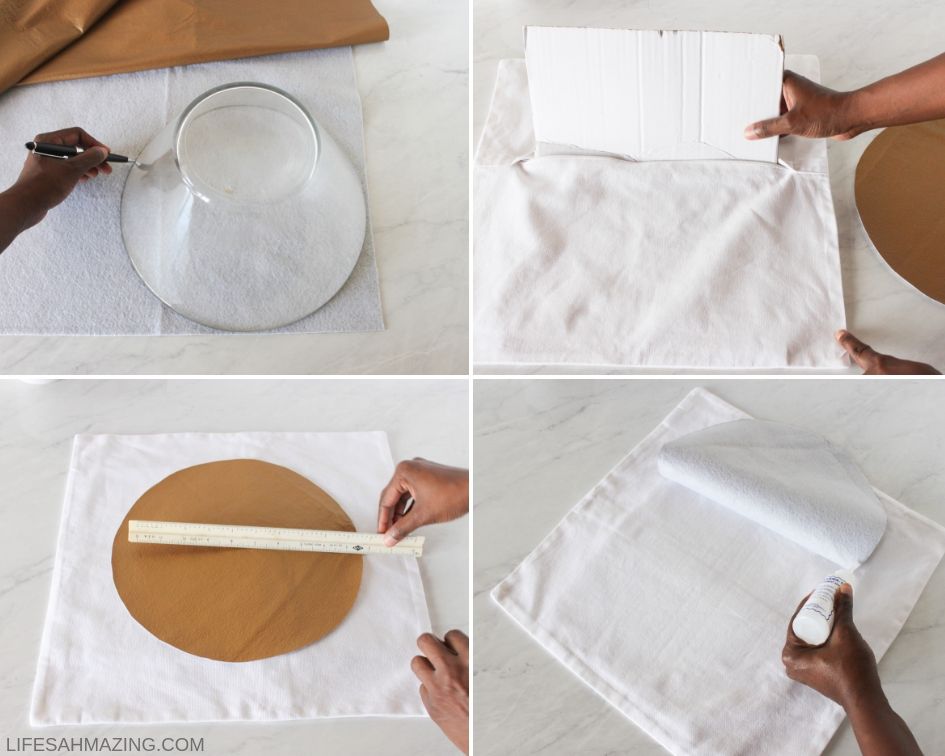
After glueing a section, apply some pressure with your fingers for a few seconds to make sure the 2 fabrics bind together. Also, smooth out any rough areas. I placed a heavy cutting board on it overnight.

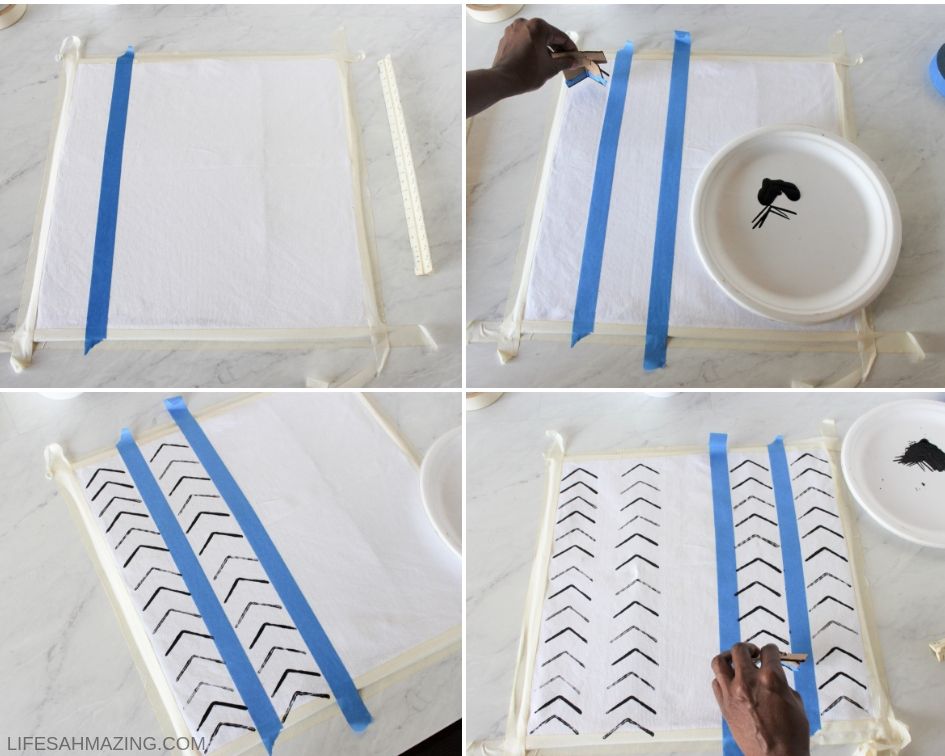
For the African mud cloth throw pillow:
I taped the 4 sides of the cushion cover on to my desk to keep it in place.
Then I measured the size of the V that I wanted and used painter’s tape to create columns. My columns were about 2.3 inches wide.
I made a V-shaped stamp from a piece of cardboard and I wrapped some painter’s tape on the edge that would be dipped in the paint to ensure that it created a clean line without the cardboard ridges. (Btw, I got this idea from Remodelaholic in a DIY project she did here)

You’ll want to practice on some scrap fabric first to be sure the shape is to your liking. At first, V shape varied a little too much so I then added another piece of on top to keep the cardboard more sturdy and the shape consistent.
I poured some of the fabric paint onto a plate and then stamped the pattern down each column.
I dipped once and stamped a few times to vary the intensity of the paint. I liked that some were faded and others were fully imprinted.
In all, it took less than 10 minutes to stamp the entire surface.

After removing the tape, I ironed the cushion from the back side to set the fabric paint.
I didn’t use an inner casing for these pillows and just stuffed them directly for the time being.
These are the final throw pillows together. I absolutely LOVE how they turned out and feel like that’s what’s been missing in my space. The African mud cloth prints really enhance your space and depending on the pattern, can be easy to DIY. And the circle leatherette makes such a simple but bold statement!

What do you think?
Share on Pinterest!
Don’t forget to check out the other Fabric DIYs by clicking the links below!
Joyful Derivatives: DIY No-Sew Drop Cloth Curtains
Kippi at Home: Llama Pillow Pattern
1905 Farmhouse: How to Create Fabric Ribbon for Gifts
Southern Yankee DIY: DIY Linen Sign
The DIY Nuts: DIY Storage Boxes
Our Happily Ever Home: No-Sew DIY Lumbar Pillow Cover
Mama Dares to DIY: DIY Painted Fabric Chairs
These are gorgeous! So high end!
Thanks much Ashley!
These are so great! I love that you used cardboard to make the design, so clever!
Thanks Eileen! Yup, the cardboard was a gamechanger. I initially tried a stencil I had but it wasn’t working out.
I’m so obsessed with these! Love how easy you made the tutorial. 🙂
Thanks much Rachel! It was sooo quick and easy.
This looks sooo beautiful! I’m obsessed with the leatherette – where did you get it?
Thanks Gladys! I got it at one of the fabric stores in Trinidad. Haven’t checked online sources but hopefully you can find similar ones.
Amazing results with this fabric DIY!
Pinning it!
Have a great week,
Kippi
#diyprojectchallange
Thanks much Kippi! Have a great week as well. xx