
How to Spray Paint Cabinet Hardware and Hinges
This week’s post is all about how to spray paint cabinet hardware and hinges. I’ve wanted to change the old ones for ages now and they’ve finally gotten the touch of gold.
Changing your cabinet hardware is a tried and true way to breathe new life into a space. And spray painting the hardware takes things up a notch.
The current cabinet handles were very dated and I wanted to swap them for a more sleek and modern design.
I also couldn’t decide at first whether I wanted a black matte finish on the hardware throughout the room for a minimalist look or to add some bling with gold.
Well, you can probably tell I went with the gold.
The beauty of spray paint is that you can always paint them in a different colour later on if you don’t like it.
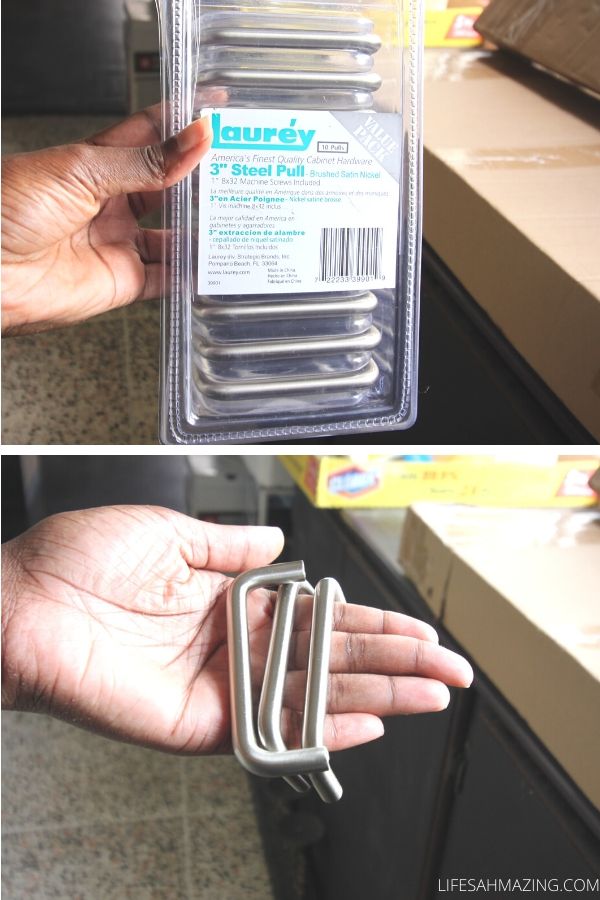
In terms of style, I didn’t get the exact handles I wanted (thanks lockdown) so I went with these options instead.
(The post contains some affiliate links, which means I may earn a small commission on qualifying purchases. Read full disclosure here.)
Supplies and Materials:
- Cabinet Handles – I’m using a couple of different sets I got at my local hardware.
- Gold Spray Paint (my fav!)
- Primer
- Microfibre cloth (to remove any dirt, dust or grease)
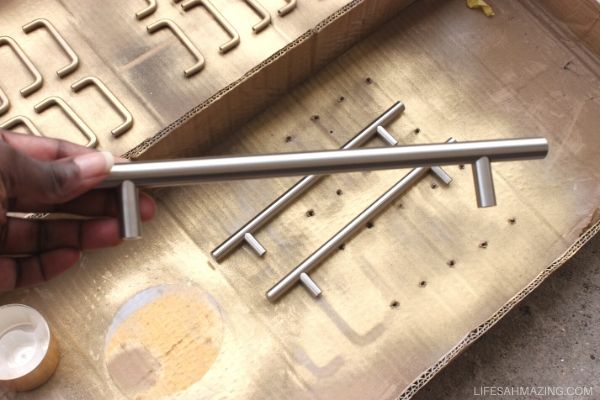
I’m using these on the closet doors…
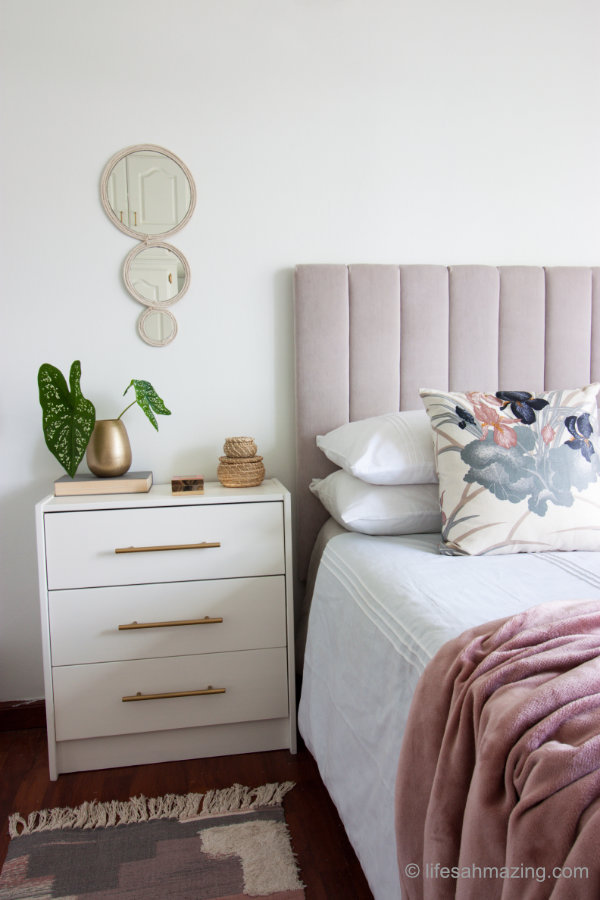
And these on the Ikea Rast Dresser
I tried 2 different methods in spray painting the handles.
The first set I primed with 2 lights coats of primer.
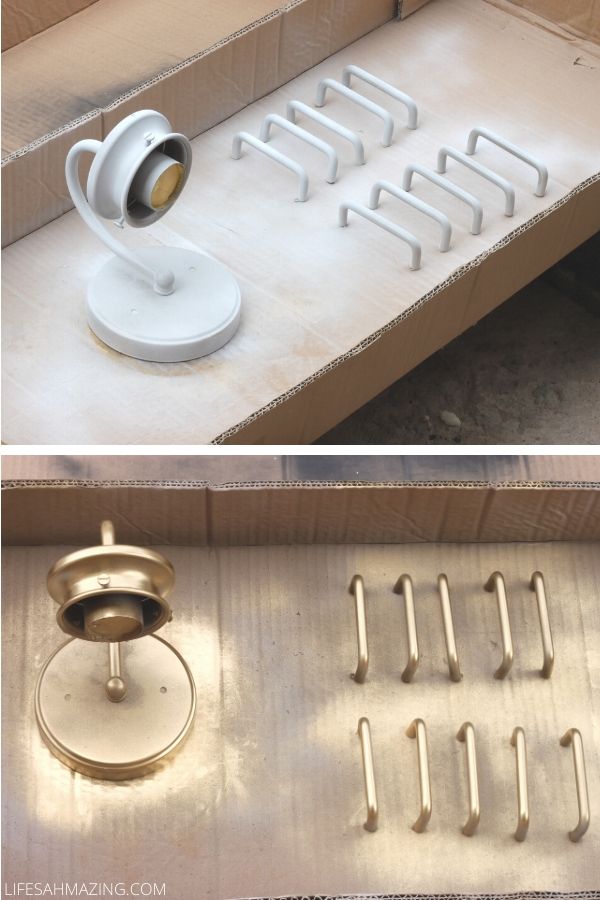
I think this was my first mistake because the primer ended up leaving the handles grainy and rough in some places.
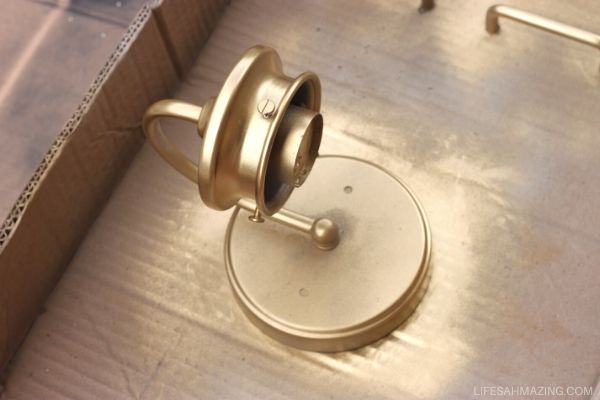
After priming, I sprayed on 3 lights coats of the gold paint. I also painted the light sconce.
I LOVE how the sconce turned out!
The next set, I made sure the wipe them with microfibre cloth and then spray painted them gold without using the primer
I used 3 light coats of gold paint. The finish was definitely smoother to the touch than the ones I primed.
I also spray painted the door hinges. Not sure whether the original finish is rubbed oil bronze? But they got the golden touch as well.
Because they’ve been on the doors for a long time, I washed the hinges with a sugar soap solution to remove any dirt, grease and build up.
Once dry, I sprayed one very light coat of primer and then about 3 or 4 light coats of gold spray paint.
The pic below shows them after the primer and 1 coat of gold spray paint. The second pic shows the coverage after the 3rd light coat.
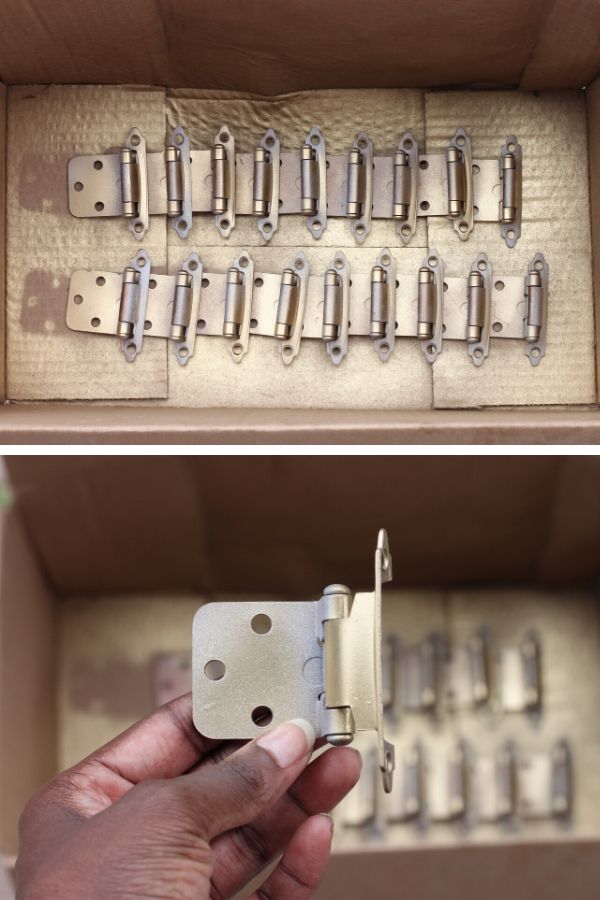
I focused on the hinge part itself and not the portion that will be hidden when screwed onto the door itself.
I still have another set of hinges to be sprayed then I’m done.
Here’s how the cabinet handles and pulls turned out!
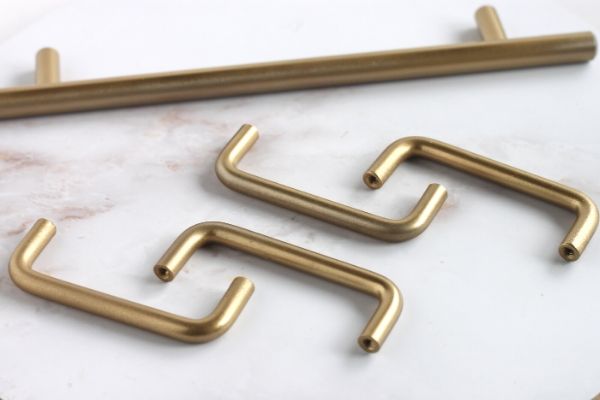
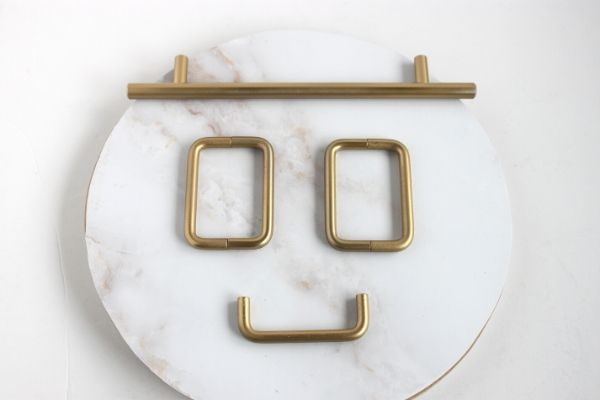
I think they’re also happy with their makeover lol 😉
Week 1 – Befores | Week 2 – Moodboard and Inspo| Week 3 – DIY Channel Headboard | Week 4 – Paint | Week 6 – DIY Vanity Nook
Hi,
How are the handles holding up normal use?
Great job! I actually bought hinges 50 for $30 just to find they were not exactly the same. 🤦♀️I measured. Sent them back now thinking to just spray original hinges I like that you said you concentrated on the part that shows I’m going to follow your method.❤️👌🏼
Do you recommend priming the handles and sconce first or not? How do you think the paint will stand up to wear and tear since the handles are used so frequently? I really want to paint my handles matte gold since rather than buying new ones.
Hi! Looks great! Just wondering if you wouldn’t mind sharing what spray paint you used?
Hi Gab. Thanks much! I use Rustoleum. I’ve added a link to the post.